As with all things in life, it started with the usual: "This will be easy." I had had a dream of picture frames on top of my dining table that update once a day, giving new vacation pictures or inspirational quotes 😅. I'm not alone, since digital picture frames have existed for decades and could be used for this purpose. The trouble was that all LCD panels emit light while requiring a constant power source to operate. Thus the goal was to have paper-like pictures with minimal power consumption.
Welcome to the world of e-ink, which originates from the 90's and became popular display panel in e-book devices in the early 2000s. Nowadays, e-ink devices are becoming popular in such places as shop displays, with multiple color options to choose from. Just in recent years, there have been new e-ink screens with even 6 colors per pixel, which are perfect for displaying images. Even better, these screens have wide viewing angles and low power consumption in sleep mode, offering years of theoretical battery life. I'm not the first one building such an art frame; however, I started just when the bigger 13-inch multicolor panels became available (now there are even bigger screens available). Here's what I found!

Picture 1. The finished e-ink art frame displaying images. Waveshare and Pimoroni with identical Spectra 6 (E6) panels.
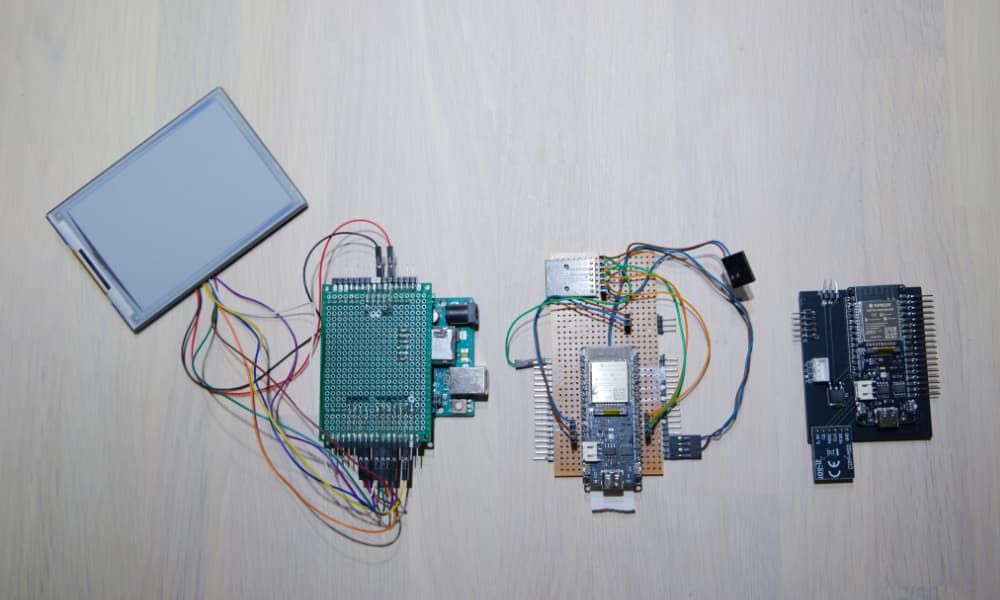
When it comes to hardware, I'm a complete amateur. I started with a cheaper e-ink screen and a prototype board just to see if the concept would work and the quality would be sufficient. After getting things running and many test scripts later, I was able to read a picture from an SD card to the screen. Even without destroying the screen.
There was one aspect that caused serious headaches when I finally ordered the full-sized screens: the screen and the SD card share the same SPI bus. The correct device is selected with a chip select (CS) control signal, meaning data has to be read from device 1 (SD card) and written to device 2 (e-ink panel) one at a time.
I struggled for a while with the data transfer, since the data has to be delivered to the screen without writing interruptions; otherwise there will be glitches in the image. The solution was to read the entire image into memory at once, but this introduced some limitations: the microcontroller needs enough RAM to buffer the complete image (around 970 KB) so it can read the entire file from the SD card first and then write it to the panel in one uninterrupted sequence. There are also ways to compress the image to reduce the memory footprint, but for my use, the "raw" approach was sufficient.
Picture 2. Simplified wiring diagram for the project.
To tidy things up, I created a custom PCB shield for the Firebeetle 2 microcontroller. This reduced wiring complexity and shortened the development cycle. During prototyping, the sleep power consumption was around 300 microamps, giving an uptime of several months with daily updates. I'll publish all the design files and code in the Git repository for future improvements.
Total cost of the parts are around 350 euros. Local taxes and shipping cost are not included so the prices may vary depending on where the components are sourced.
Picture 3. Custom PCB shield for the FireBeetle 2 ESP32-E microcontroller. Version 1, 2, and 3 from left to right.
Before even thinking about loading the pictures to the displays, the images need to be converted to the 6-color format: red, green, blue, yellow, black, and white. This is accomplished by dithering the image to the 6-color palette and saving the resulting data as a binary string in a format understood by the panel (see documentation). The color combinations produce clear and vibrant pictures when viewed from arm's length away. As always, the more contrast there is, the better the results, since the red, green, and blue color components are of a darker hue. A drawback of this technology is that the image refresh cycle takes approximately 20 seconds to complete.
In simplicity, the update flow works as follows:
I decided to update every 12 hours: once in the morning and once in the evening.

Picture 4. Close-up of e-ink color pixels showing the E6 color panel detail.
There are also other development possibilities. Wireless image upload is one that many commercial e-ink art frames already provide. The microcontroller contains Bluetooth and Wi-Fi chips, so implementing such a feature and a companion control app should be fairly trivial. It could also be possible to display a calendar that updates upcoming events for the current month. The possibilities are endless.
Lastly, should you buy a e-ink art frame or build one yourself? When I started this project, there wasn't complete commercial products available, but now there is. If you are just looking for a simple solution without hasle, I would recommend buying a ready-made e-ink art frame. However, if you are interested in the process of building one yourself and want to customize it to your liking, then building your own e-ink art frame can be a rewarding experience. Building your own frame allows you to completely customize the design and how the display controller works without relying on third-party software support.
This article took a while to write, and the project took even longer to complete. After I have stopped yapping, I'll have some cleaning (and documentation) to finalize in the Git repository. There are also other development goals to work on. As described, support for wireless picture upload is one of the priorities, and of course, there are optimization possibilities in the power consumption. Thus, prepare for frequent infrequent updates since I have a lot of work ahead of me... and other projects to release.
Project link (release 10.04.2026): GitHub Repository
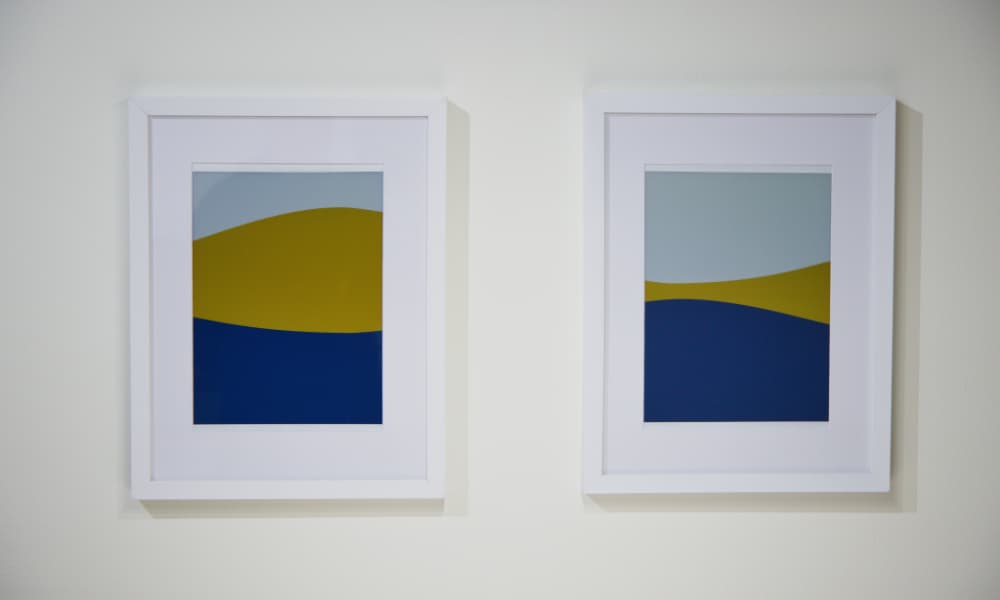
Picture 5. E-ink art frame in action.